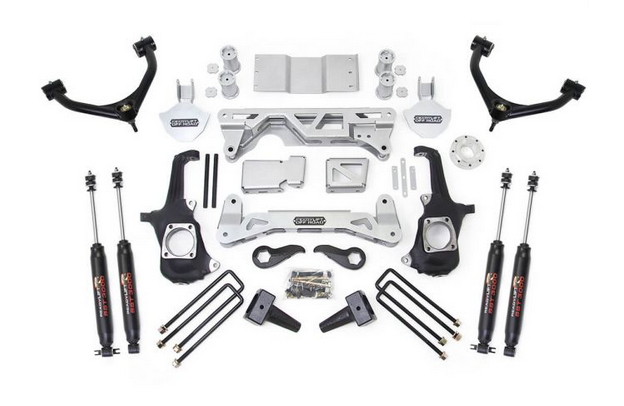
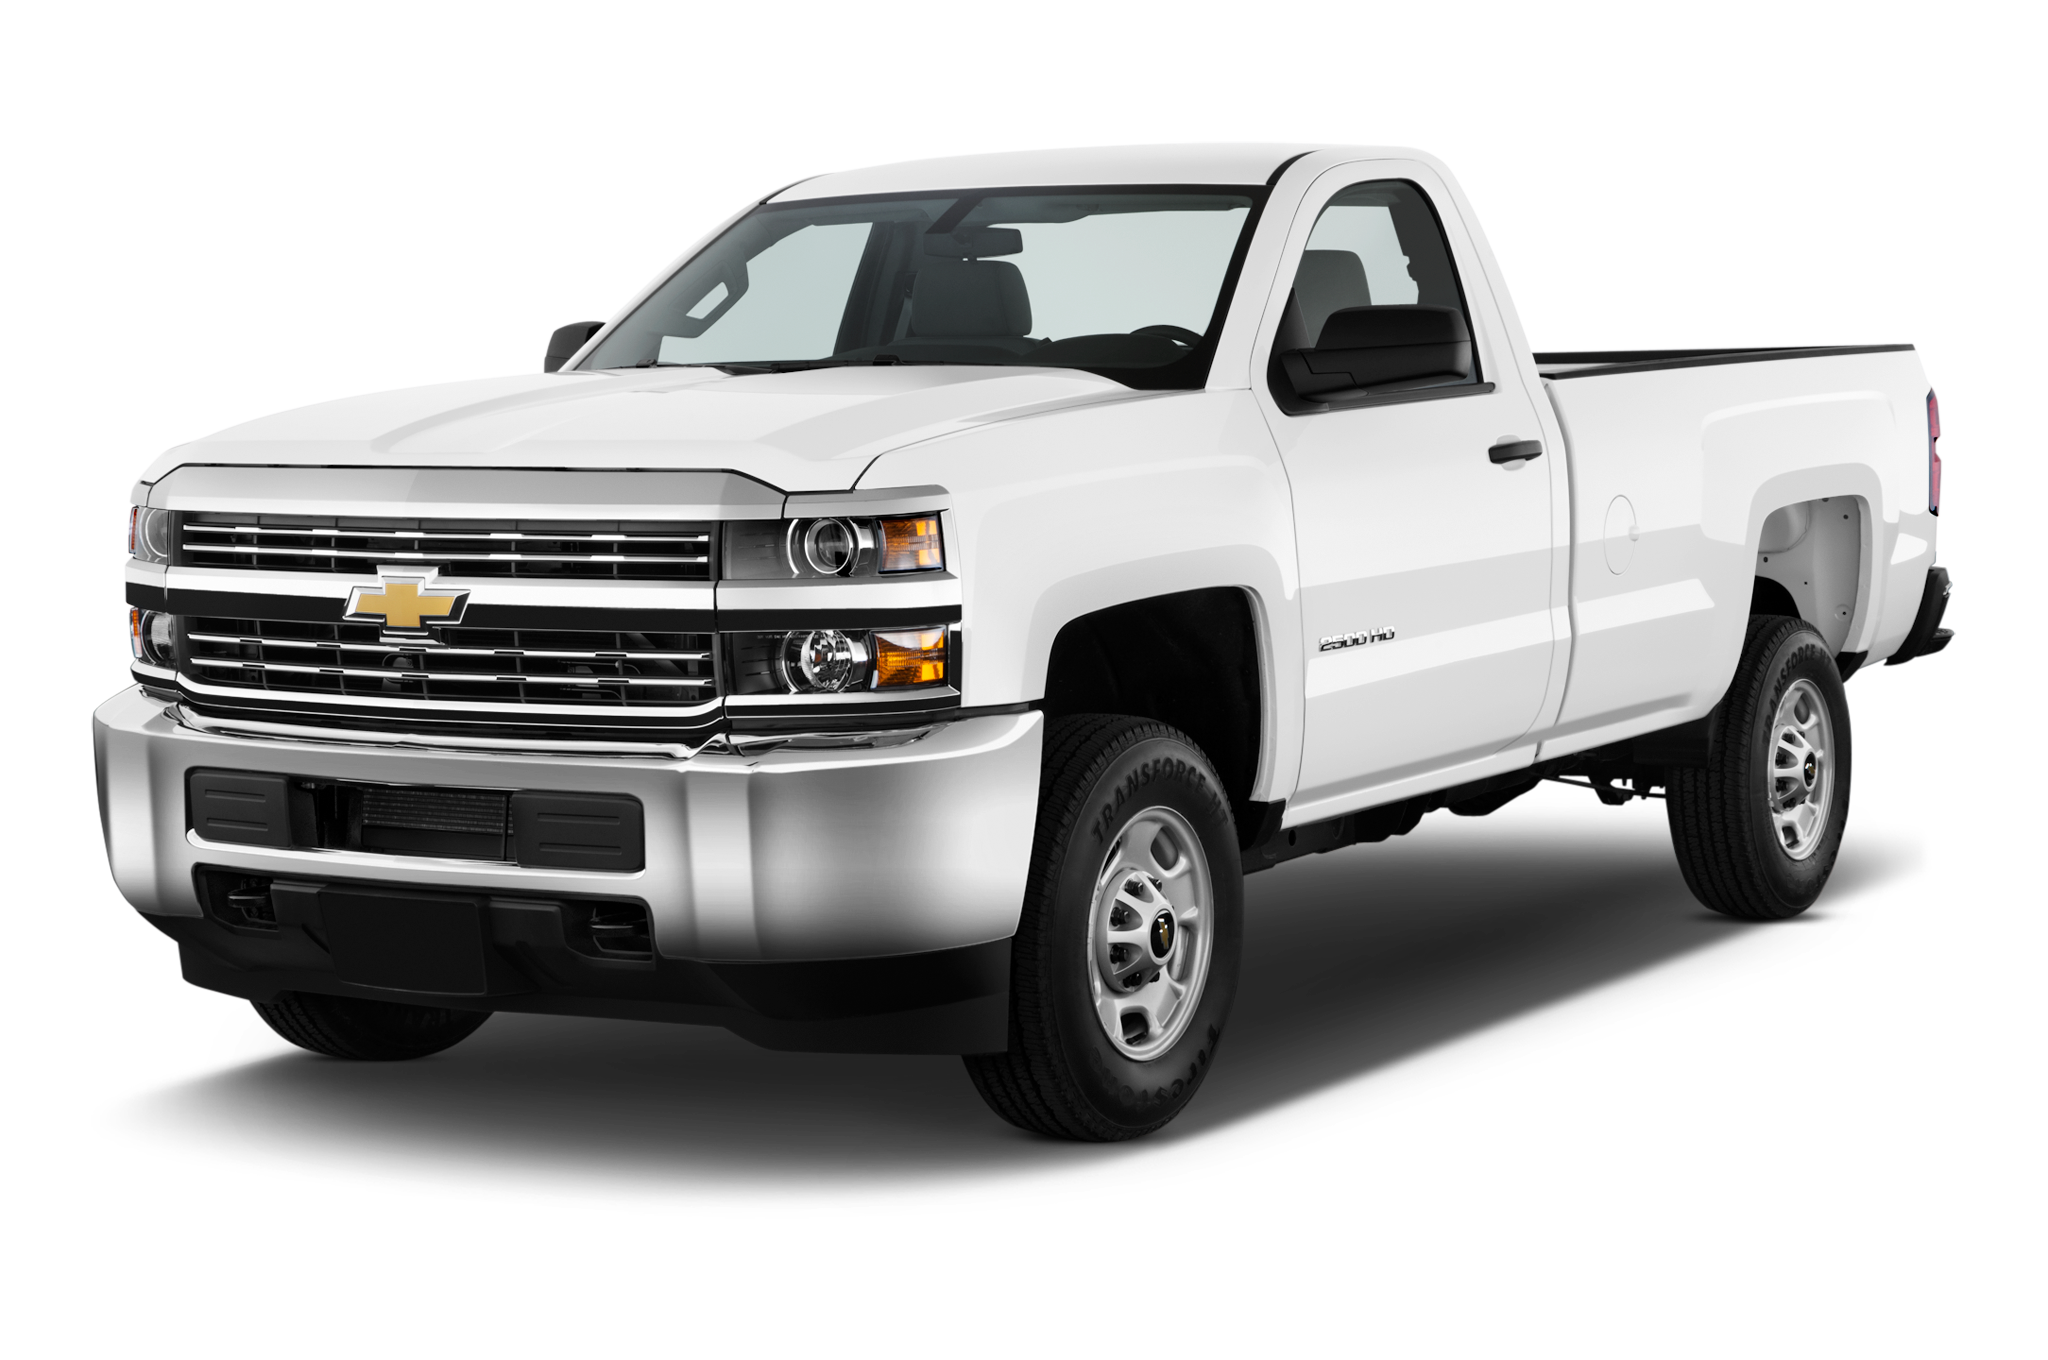
Wondering how to install an 8-inch lift kit on a Chevy Silverado 2500 and which one to choose? We’ve got the answer.
Today, you have many lift kit options to choose from. But none of them can give you as much confidence and performance as the Readylift 8-inch lift kit. The product is pretty complicated, and its installation is tricky, but the result is worth it.

Let us help you do it right in this brief step-by-step manual:
- Elevate your truck and take off the wheels.
- Remove front and rear skid plates.
With that done, you’re ready to dismount the front suspension. It’s useful to soak its hardware with penetrating oil beforehand for easy dismounting.
- Unbolt and remove the shocks.
- Mark up the depth of the torsion bar adjustment bolts in the blocks; unscrew the bolts and then remove the blocks.
- One by one, slide the torsion bars all the way forward. Remove them.
- Dismount the crossmembers after removing the ABS pump from the driver’s side.
- Remove both sway bar links and tie rod ends.
- Prepare your truck for removing the steering knuckles by disconnecting ABS components, unbolting calipers, and their brackets.
- Use a thin chisel and hammer to separate the axle nut covers from the wheel hubs.
- Remove the axle nuts, brake rotors, and wheel hubs.
- To take off the knuckle, loosen and then strike the lower ball joint with a hammer. Repeat with the upper ball joint.
- Mark the orientation of the CV axles relatively to the differential flange so that you could accurately reinstall them. Remove these parts.
- Dismount the control arms.
- Before removing the differential, make sure you’ve disconnected all wires, marked the current position of the driveshaft, and unbolted this part from the front differential.
- With the differential removed, cut off a portion of the driver’s side control arm pocket – 1.5 inches from its outer bolt hole. Respray the exposed metal to prevent corrosion.

Now, it’s time for the lift kit installation
- Install the passenger and driver diff drop brackets. Mount the diff.
- Connect wiring and driveshaft do the differential.
- Install your new crossmembers.
- Reinstall the factory lower arms using the new hardware from the kit.
- Mount the Readylift upper control arms with the new bushings.
- Put the new knuckles in place. Ask for assistance – the knuckles are heavy.
- Use the spacers from the kit to reinstall the CV axles.
- Bolt the new differential skid plate.
- Use the new bump stops, extended sway bar links, extended shocks, and torsion bar drop brackets.
- Finish with the front axle by mounting the factory torsion bars, wheel hubs, brakes, and wheels.
- In the rear, the process is simpler:
- Disconnect the brake cables.
- Lower the rear diff to install the new lift locks. Use the new U-bolts to fix the axle.
- Add the driveshaft spacer.
- Install the new shocks.
- Install the new drop brackets for the brake cables.
That’s, in brief, a step-by-step instruction on how to install an 8-inch lift kit on a Chevy Silverado 2500. For more details, watch this video: Chevy Silverado 2500 Readylift 8 Inch Lift Kit Installation.


